Welcome to Day 2 of Merry [home] Making! I hope you enjoyed my little yarn ball snow man yesterday. I'm having a lot of fun with this week!
There will be a good range of projects this week, so don't worry if yesterday's was a bit much! It was the most indepth one I'm doing this week. Don't sweat!
Today's project is a cute way to package your Christmas goodies for friends and family.
I have loved these little chinese take-out boxes ever since they became available in craft stores. They are so much fun to decorate! Here's a fun and easy way to deck one out for Christmas with some fun rubber stamps :-)
Cast of Characters:
♥Chinese Take-Out box (Available at Michaels for $1.29)
♥Rubber stamps
♥White Pigment Ink Stamp Pad
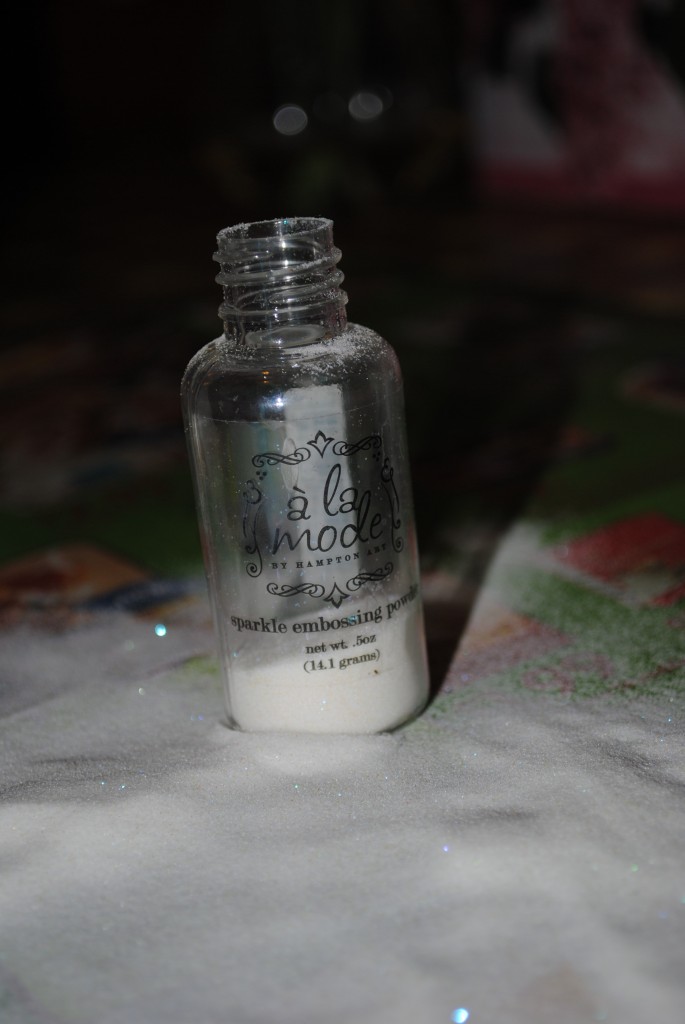
♥Sparkly Embossing Powder
♥Embossing Heat Tool
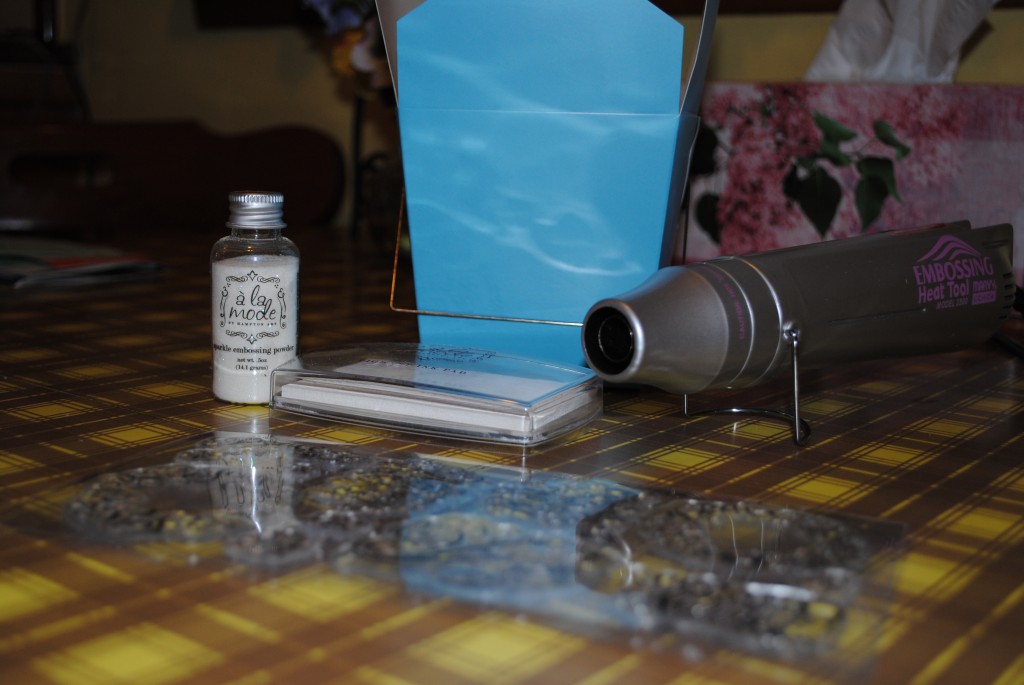
If you haven't done rubber stamping before, pay special care to the kind of stamp pad you buy. Not all are alike! You will need a pigment ink pad, which has a special tackiness to it that helps the embossing powder stick to it.
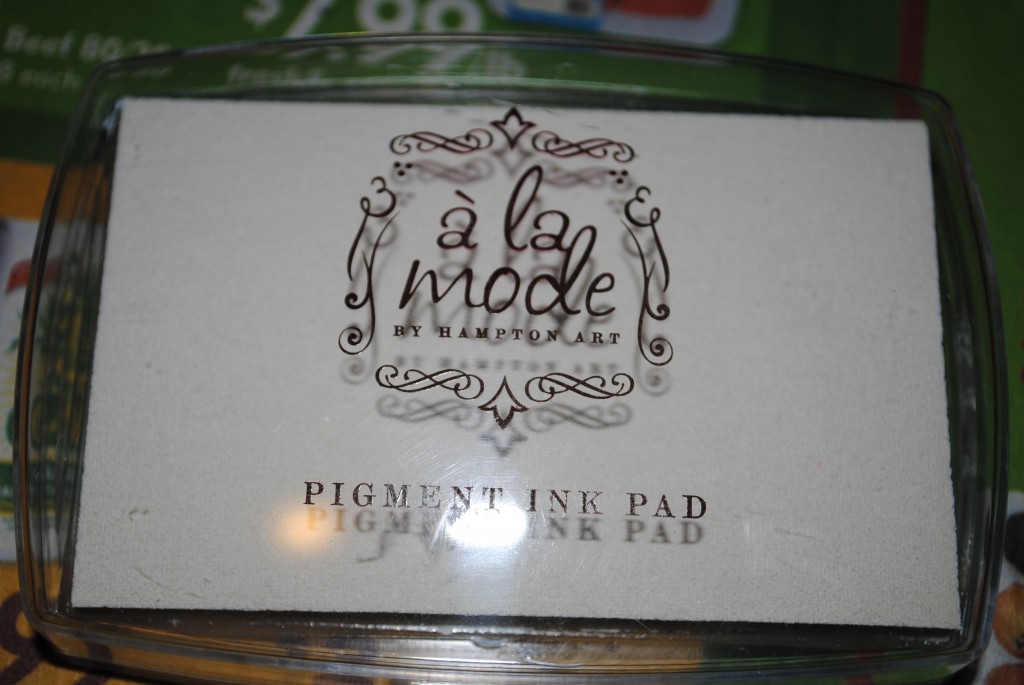
I'm not endorsing specific brands, but you can see the ones that I used. Don't forget your Michael's coupons! (Or JoAnn's...I like them better since you can use more than one coupon at a time)
Pretty, whimsical winter stamps.
(These are the kind that you mount to a clear plastic block. The traditional wooden-handled rubber stamps work just as well!)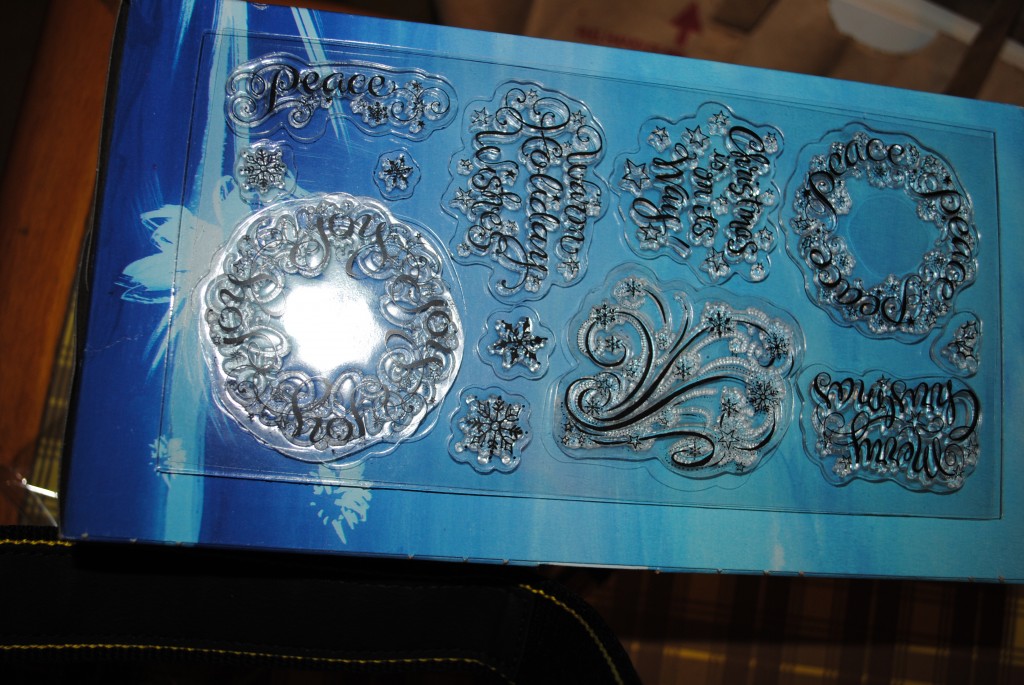
Press your chosen winter stamp lightly into your pigment ink, and then press slowly and evenly onto your take-out box.
If you haven't embossed before, don't worry about being conservative with your embossing powder! Dump in on there!
I always keep my workspace covered with wax paper (or in tonight's case, the very classy store ads from today's mail!) so that I can pour the left over powder back into the container. Unless you've mixed powders or spilled anything on your powder, it's completely reusable!
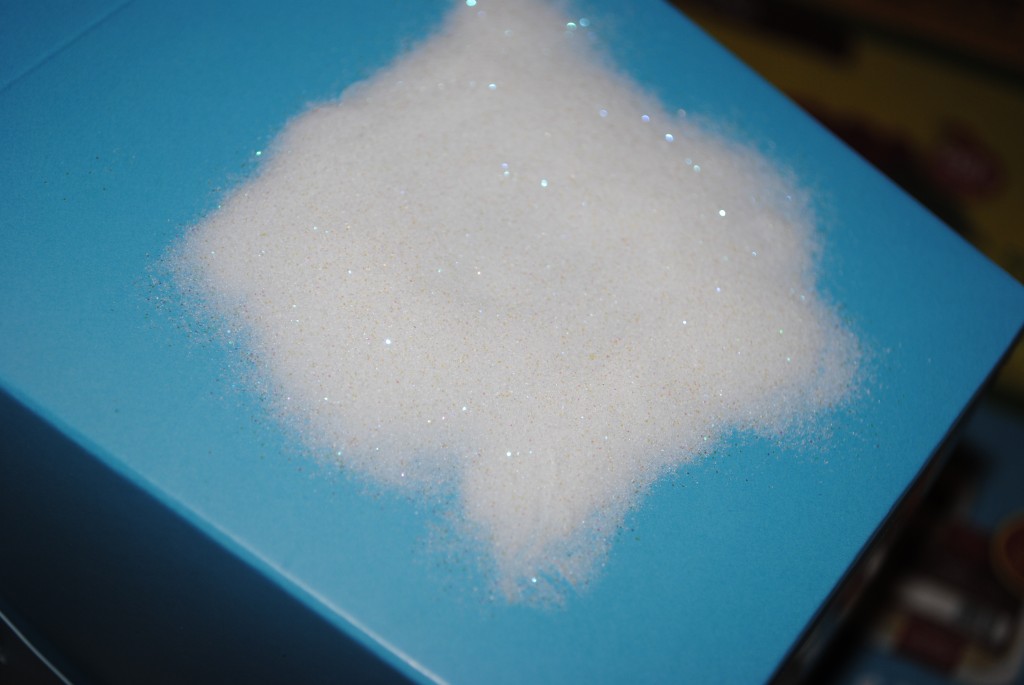
Gently shake off the excess powder. Your project should now look something like this.
If you notice tiny bits of powder still stuck to the take-out box, simply blow it away lightly. You don't want powder on random parts of your box, because once you heat the powder, you won't be able to get it off.
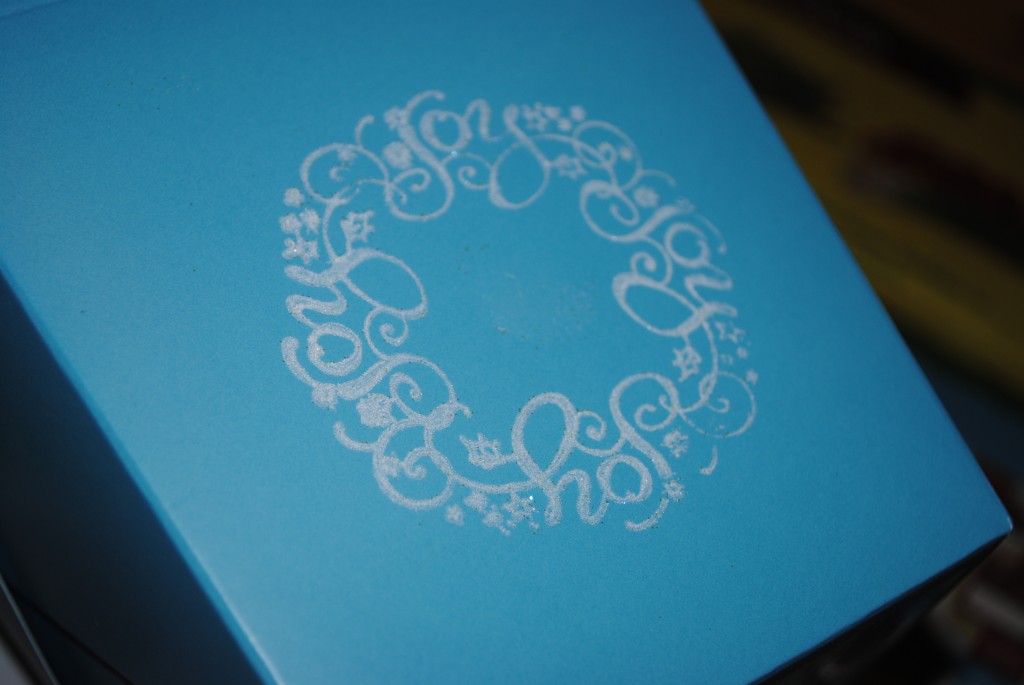
Now it's time to play with your heat tool!
Don't have one? Don't worry! Neither did I...for 13 out of my 14 years as a rubber stamper. Don't be horrified, but I found that holding my projects over a heated toaster worked just as well!
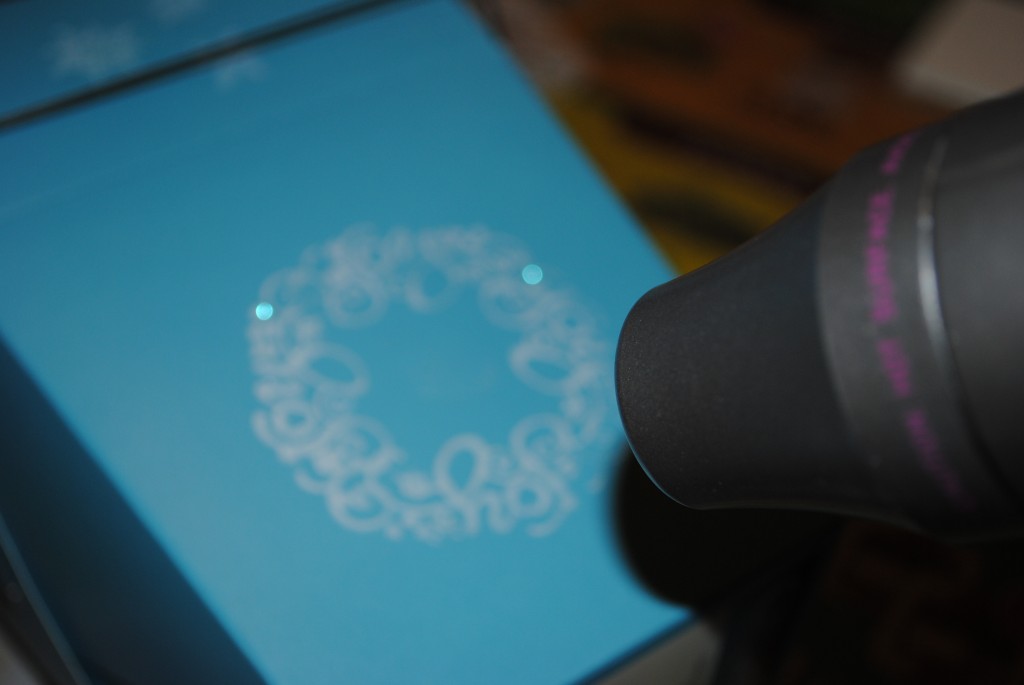
Once you've heated all of the powder until it's a smooth, glossy finish, you're finished! Move on to another area to decorate it.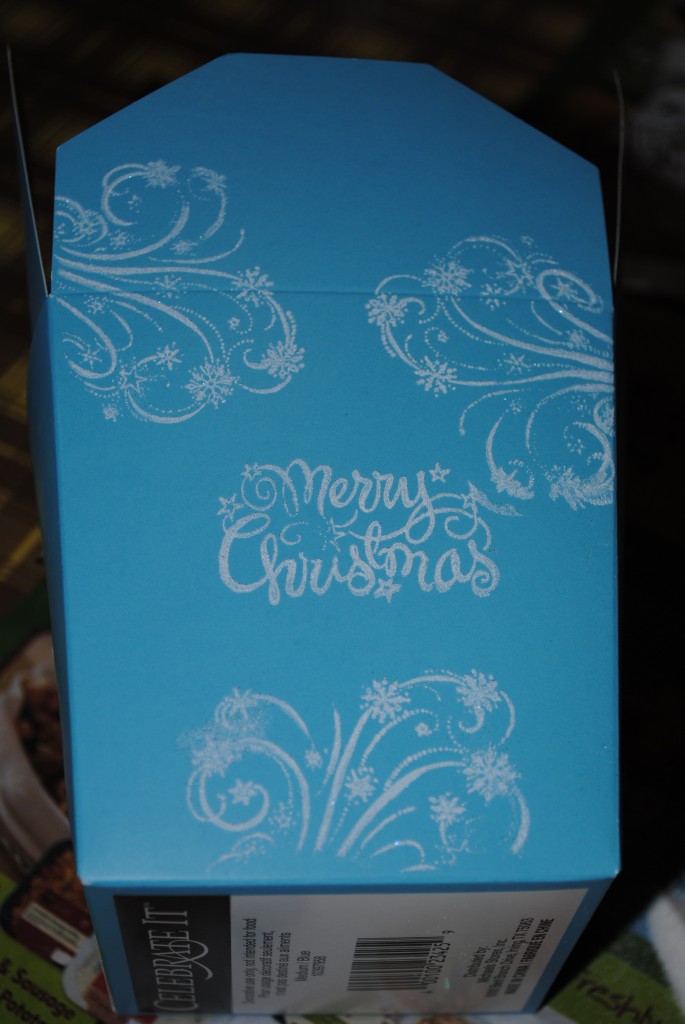
I overlapped so that my stamps ran over the top, too, to complete the look.
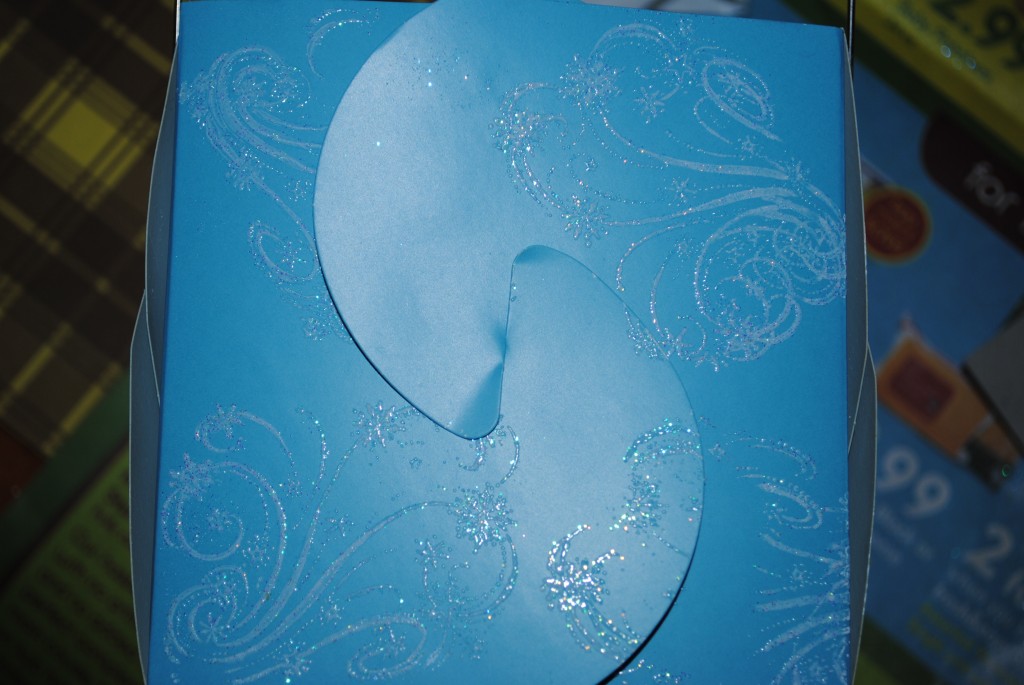
Add a pretty bow, and you're ready to go!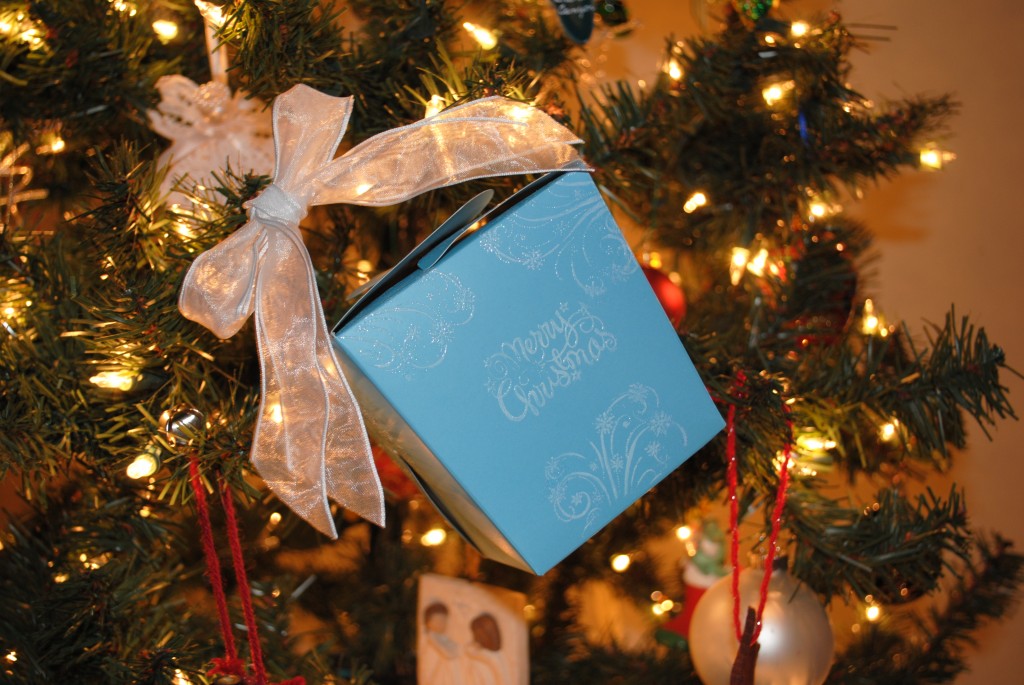
Line the inside of the take-out box with tissue paper or wax paper, and fill it with your favorite Christmas goodie. I usually put chocolate covered pretzels or mini cookies.
What's going in yours?


This is a really cute idea!
ReplyDelete